

How To Install Ruby On Rails Mac
Content
- Outline
- Install Homebrew
- Install rbenv
- Initialize rbenv
- Install other versions of Ruby
- Ready Error
- Alter version
- Install Bundler
- Install Track
- Install yarn
- Create and commencement Rails project
- Completed
- Reference
Outline
Recently, I have a adventure to get-go Rub on Rails projection. In this blog post, I will introduce how to install Ruby on Rails on Mac and outset a project with installed Rails.
- Rails Official Site: https://rubyonrails.org/
This blog post is a series. Yous can encounter the other posts in below.
- Showtime Ruby on Rails on Mac
- Folder structure in Ruby on Rails
- Add together new web folio by Ruby on Rail
- Exchange Information betwixt Controller, View and Route
- Use DB on Runway
Likewise, y'all tin run into the this blog post sample source code on Github
- Github source code
Install Homebrew
We volition use Mac pacakge manger Homebrew to install Rails on Mac. execute the command below to check Homebrew installed on Mac.
If Homebrew was installed already, you tin see the result below.
Homebrew 2.2.six Homebrew/homebrew-core (git revision 93ac3; terminal commit 2022-02-18) Homebrew/homebrew-cask (git revision 373c1; concluding commit 2022-02-18) If you become the result above, go to the adjacent step. If you don't become it, execute the command below to install Homebrew.
/usr/bin/ruby -due east " $(ringlet -fsSL https://raw.githubusercontent.com/Homebrew/install/chief/install) " After installing, execute the control below to check Homebrew installed.
If Homebrew was installed well, you tin can meet the result beneath.
Homebrew 2.2.half dozen Homebrew/homebrew-core (git revision 93ac3; last commit 2022-02-18) Homebrew/homebrew-cask (git revision 373c1; final commit 2022-02-18) Install rbenv
Mac has basically Ruby. So, you can install Rails direct, merely to support various versions of Ruby, nosotros'll install rbenv that is cerise version manager.
Execute the command below to install rbenv.
brew install rbenv ruby-build After installing, you can see the result below.
==> Pouring rbenv-1.i.2.catalina.bottle.tar.gz 🍺 /usr/local/Cellar/rbenv/1.1.2: 36 files, 69KB ==> Caveats ==> ruby-build ruby-build installs a not-Homebrew OpenSSL for each Ruby version installed and these are never upgraded. To link Rubies to Homebrew's OpenSSL 1.1 (which is upgraded) add the following to your ~/.zshrc: consign RUBY_CONFIGURE_OPTS="--with-openssl-dir=$(brew --prefix [e-mail protected])" Notation: this may interfere with building old versions of Ruby (due east.g <2.four) that utilize OpenSSL <1.ane. And so, post-obit the above, open up .zshrc file and modify it like below.
# lawmaking ~/.zshrc export RUBY_CONFIGURE_OPTS = "--with-openssl-dir= $(brew --prefix [email protected]) " Initialize rbenv
Later on installing rbenv, execute the control below to initialize rbenv.
After executing the command, y'all can come across the result below.
# Load rbenv automatically past appending # the following to ~/.zshrc: eval " $(rbenv init -) " Following the above, open .zshrc file and modify information technology like below.
# code ~/.zshrc eval " $(rbenv init -) " Afterwards all settings, execute the command below to check all configuration are set well.
curl -fsSL https://github.com/rbenv/rbenv-installer/raw/master/bin/rbenv-doctor | bash After executing, you can encounter the issue below.
Checking for `rbenv' in PATH: /usr/local/bin/rbenv Checking for rbenv shims in PATH: OK Checking `rbenv install' back up: /usr/local/bin/rbenv-install (blood-red-build 20220115) Counting installed Cherry versions: none At that place aren't any Ruby versions installed under `/Users/jeonghean_kim/.rbenv/versions' . Yous can install Ruby versions like so: rbenv install 2.2.four Checking RubyGems settings: OK Auditing installed plugins: OK Install other versions of Ruby
Permit'due south see how to install another version of Ruby on Mac. Starting time, execute the command below to check current Red version.
Afterwards executing, you tin see the screen below.
ruby 2.six.3p62 (2019-04-16 revision 67580) [universal.x86_64-darwin19] Execute the control below to check Ruby versions that we can install via rbenv.
After executing, y'all can run into Carmine version list like below.
... truffleruby-1.0.0-rc3 truffleruby-one.0.0-rc5 truffleruby-1.0.0-rc6 truffleruby-one.0.0-rc7 truffleruby-one.0.0-rc8 truffleruby-one.0.0-rc9 truffleruby-19.0.0 truffleruby-19.i.0 truffleruby-xix.two.0 truffleruby-19.two.0.1 truffleruby-xix.three.0 truffleruby-19.three.0.ii truffleruby-19.3.1 There are so many versions, so execute the control beneath to get contempo stable Cherry version.
rbenv install -l | sed -n '/^[[:infinite:]]*[0-9]\{one,\}\.[0-9]\{1,\}\.[0-ix]\{1,\}[[:space:]]*$/ h;${g;p;}' And so, you can encounter the result beneath.
Execute the control beneath to install recent stable Ruby.
Too, yous can direct install recent stable Ruby via executing the command below.
rbenv install $(rbenv install -50 | sed -north '/^[[:space:]]*[0-9]\{1,\}\.[0-ix]\{ane,\}\.[0-9]\{one,\}[[:space:]]*$/ h;${k;p;}' ) Of course, you lot can install old version Ruby.
After installing, execute the command below to re-configuration new surroundings.
Fix Error
I got the error message like below when I installed.
Last 10 log lines: checking for inttypes.h... yes checking for stdint.h... yes checking for unistd.h... yes checking minix/config.h usability... no checking minix/config.h presence... no checking for minix/config.h... no checking whether it is rubber to define __EXTENSIONS__... yeah checking for cd using concrete directory... cd -P checking whether CFLAGS is valid... no configure: error: something wrong with CFLAGS = "-I/usr/local/include -L/usr/local/lib " I've fixed it to modify ./zshrc file like beneath.
# lawmaking ~/.zshrc export CFLAGS = "" Change version
Showtime, execute the control beneath to check current Carmine version.
You tin can see the result similar below.
* system ( set by /Users/jeonghean_kim/.rbenv/version) 2.vii.0 The * marker is currently selected Ruby version.
You can execute the command below to check Ruby version once again.
ruddy -five # ruby 2.6.3p62 (2019-04-16 revision 67580) [universal.x86_64-darwin19] Execute the command below to modify Ruby version.
rbenv global two.vii.0 rbenv rehash And then execute the command below to check version. yous can see the version is changed
ruby -v # ruby 2.7.0p0 (2019-12-25 revision 647ee6f091) [x86_64-darwin19] rbenv versions # organization (set past /Users/jeonghean_kim/.rbenv/version) # * ii.seven.0 Install Bundler
Let's install Bundler which is Scarlet Gem manager. Gem is kind of libraries(packages). Bundler installs and manages the libraries(packages).
Execute the command below to install Bundler.
Later installing, execute the command below to cheque Bundler installed well.
bundler -v # Bundler version 2.1.4 Install Rails
Let'due south install Rails. Execute the command below to install Rail.
gem install rails rbenv rehash Subsequently installing, you tin check Rails install well via executing the command below.
Install yarn
For creating Rails project and executing it, nosotros need to install yarn. yarn is kind of manager to install javascript libraries and manage them.
Execute the command below to install yarn
Create and start Runway project
Let's make Rails project. Execute the command below to create new Runway projection.
If you lot got the message like below, when you create Rail project,
The dependency tzinfo-data (>= 0) will be unused by any of the platforms Bundler is installing for . Bundler is installing for scarlet but the dependency is only for x86-mingw32, x86-mswin32, x64-mingw32, coffee. To add those platforms to the bundle, run `bundle lock --add together-platform x86-mingw32 x86-mswin32 x64-mingw32 java` . Afterward creating, execute the command below.
cd StudyRails bundle lock --add-platform x86-mingw32 x86-mswin32 x64-mingw32 java parcel install If you lot get the error message similar below,
Your Ruby version is two.half dozen.three, but your Gemfile specified 2.7.0 The reason is bundle path is not recognized well. I solved it to add the contents below to .zshrc file.
# code ~/.zshrc alias bundler =/Users/$USER/.rbenv/shims/bundler alias scarlet =/Users/$USER/.rbenv/shims/red allonym bundle =/Users/$USER/.rbenv/shims/bundle alias gem =/Users/$USER/.rbenv/shims/gem alias rail =/Users/$USER/.rbenv/shims/rails Afterwards creating, execute the control bewlot to offset Rail projection.
# cd StudyRails bundle exec rails server If you get the message like below,
Alert: the running version of Bundler (2.1.2) is older than the version that created the lockfile (ii.1.4) . Nosotros propose yous to upgrade to the version that created the lockfile by running `gem install bundler:2.1.4` . Execute the commnad below.
After running the server, you lot can go to http://127.0.0.1:3000/ on the browser.
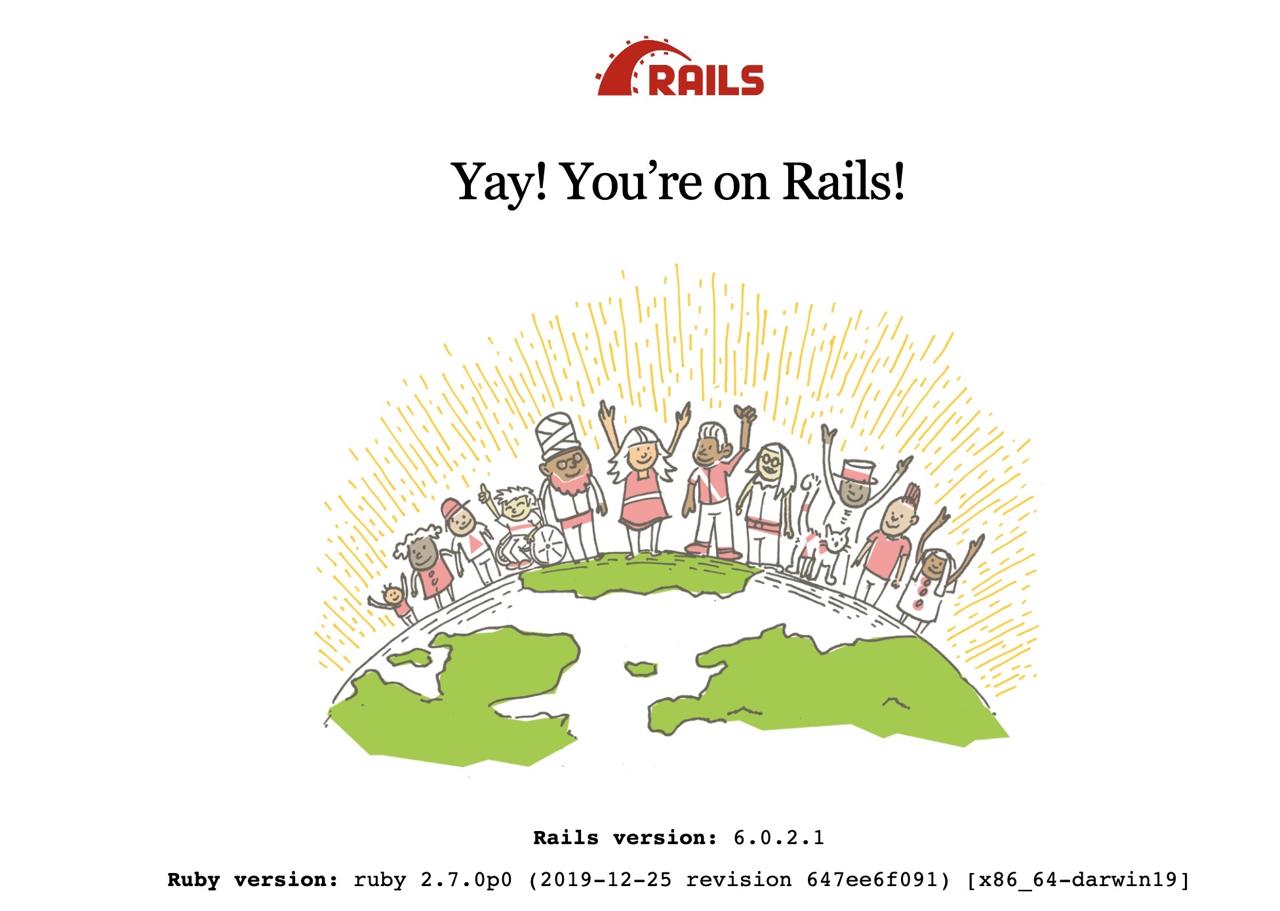
If y'all take no problem, yous tin encounter Runway folio like above.
Completed
We've seen how to change Ruby version and install Rails to start Rails project. I idea the setting is simple, but I'v had many problem because of path setting on .zshrc for jekyll blog.
export GEM_HOME = $Dwelling/gems export PATH = $HOME/gems/bin:$PATH If yous have some problem, I recommand you to check zshrc and delete wrong path setting. At present, let's play with Rails project!
Reference
This blog post is a series. You can encounter the other posts in beneath.
- First Ruby on Rails on Mac
- Folder structure in Cherry-red on Rails
- Add new web folio past Cerise on Rails
- Substitution Data between Controller, View and Route
- Use DB on Rails
Also, you can run into the this web log post sample source code on Github
- Github source code
Was my weblog helpful? Please leave a comment at the bottom. information technology will exist a great help to me!

Source: https://dev-yakuza.posstree.com/en/ruby-on-rails/rails-on-mac/
Posted by: stopsawallaid.blogspot.com
0 Response to "How To Install Ruby On Rails Mac"
Post a Comment