

How To Remove Windows Installation Media Windows 8
This scenario can exist traced down to a unmarried process on your computer: performing an upgrade to a new version of the Windows operating organisation or installing it from the scratch and it has been bugging users for quite a long time now.
Either there is a complete confusion which can be fixed quite easily and which volition be explained the start solution or you lot volition have to perform some serious troubleshooting which is, of course, the longer and more complicated path. Notwithstanding, the problem should exist resolved chop-chop if you follow the methods below carefully!
Solution 1: Run the Process from a Different Place
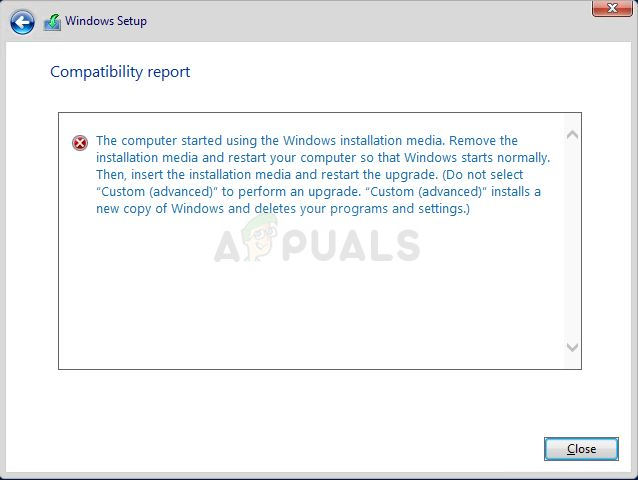
If you want to perform an upgrade on a PC which already has an operating organization installed which can exist booted into, you might have made a fault if you booted from your recovery media (Windows installation DVD or USB) and tried to initiate the upgrading process from there.
That is the usual scenario and the mistake message is not in vain. Instead, you demand to boot into your operating organisation and start the procedure from in that location.
- Beginning of all, remove the installation DVD or USB from your figurer completely when it has shut down completely and boot normally into your Windows operating system.
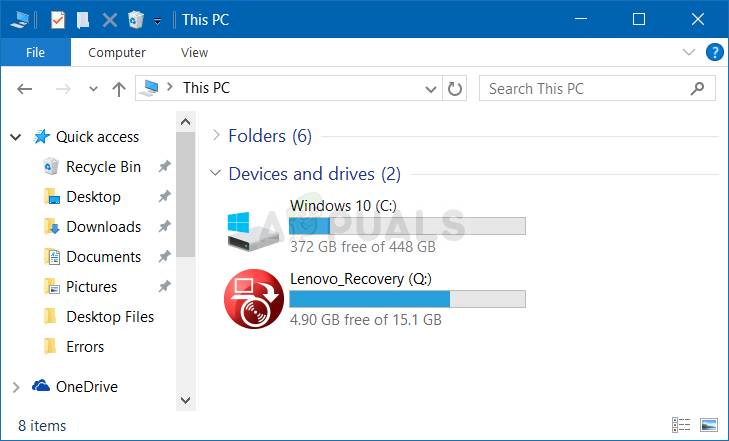
- After that, insert the storage device you want to use to perform and update and wait for it to load on your computer. Open This PC or My Computer on older versions of Windows by looking for it in Windows Explorer and locate the drive. If it's a USB information technology should announced equally a Removable Storage Device and a DVD would appear equally such with the disc icon.
- Double-click on it in lodge to open and yous should see a file named setup.exe. Run it and you should see a set up of steps. If it is Windows 10 you are trying to update to from an older version of Windows follow the steps below.
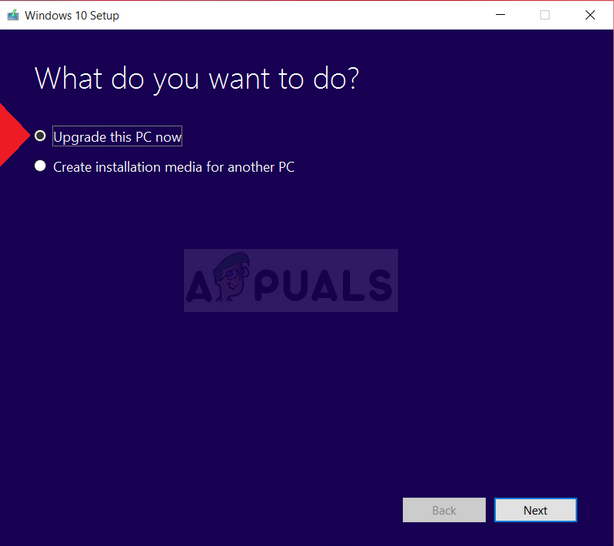
- On the "What do you want to do?" screen cull the "Upgrade this PC at present" option and click on Next. It will accept a while to download the necessary files so stay patient.
- Read the License terms on the window which will announced and click on Have afterwards. After that, you lot will run across the Ready to install window and an Install button at the lower right part and then click on information technology and wait for the process to terminate. After that, you volition just need to setup certain settings which nosotros will go out for you. The problem should be solved now.
Solution two: Re-Insert Your Laptop's Battery
This solution definitely sounds also good to be truthful and nosotros were also skeptical about it but several users confirmed that it actually works and we had to place it in our article. Yet, the process takes about a minute and it won't cost you lot anything, peculiarly if it really solved the problem.
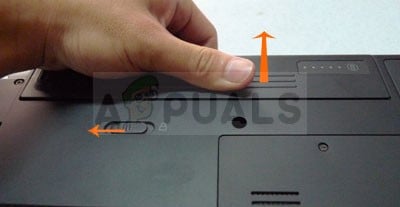
- Turn off your laptop and disconnect the Air-conditioning adapter to make sure in that location is no current running. Release the latch or other attachment devices that hold your bombardment in its regular spot.
- Slide the battery out of its compartment or storage bay easily. Press the release button if at that place is one and carefully lift the battery out of its identify. Avoid touching the contacts on the battery itself or inside the bay; the moisture on your fingertips could reduce the electrical conductivity of the battery.
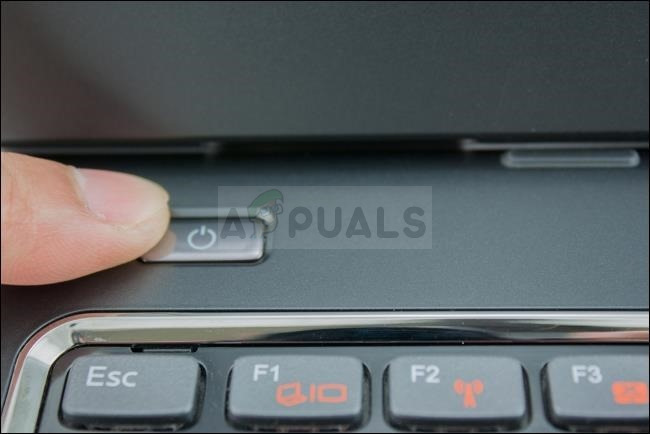
- Make certain to concord your laptop's power button for at to the lowest degree 20 seconds in guild to bleed it from any current which may have remained. Y'all should simply practise this with the both battery and Air-conditioning adapter disconnected and your laptop existence close down.
- Slide the bombardment back into the notch or bay and close the prophylactic latch to lock it into identify. Reconnect the AC adapter and kick your computer to endeavour the installing process again.
Solution 3: Delete a Sure Registry Primal
At that place are certain actions y'all may have tried out on your reckoner which could have led to a certain registry key being created. This registry key actually causes this problem and deleting it tin solve it in no time. If you are trying to install Windows regularly and you lot are receiving this fault, endeavour following the steps below in gild to solve the problem.
- Open the Registry Editor interface by typing "regedit" in either the search bar or the Run dialog box. Navigate to the following key in Registry Editor by navigating in the left pane:
HKEY_LOCAL_MACHINE\SYSTEM\CurrentControlSet\Control
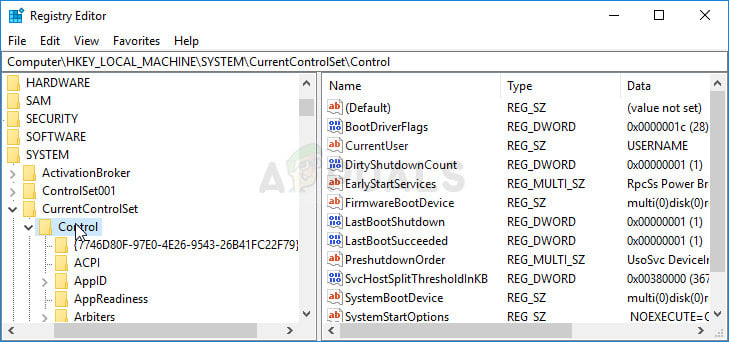
- Under the Control cardinal, you lot should be able to run across a key named MiniNT and so brand sure yous right-click on information technology and click on Permissions.
- Under the Grouping or user names section, try to locate your username on the list. If you fail to do so, click on Add >> Avant-garde >> Discover At present. Y'all should be able to see your user business relationship nether the Search results section so select it and click OK twice until you back in the Permissions folder.
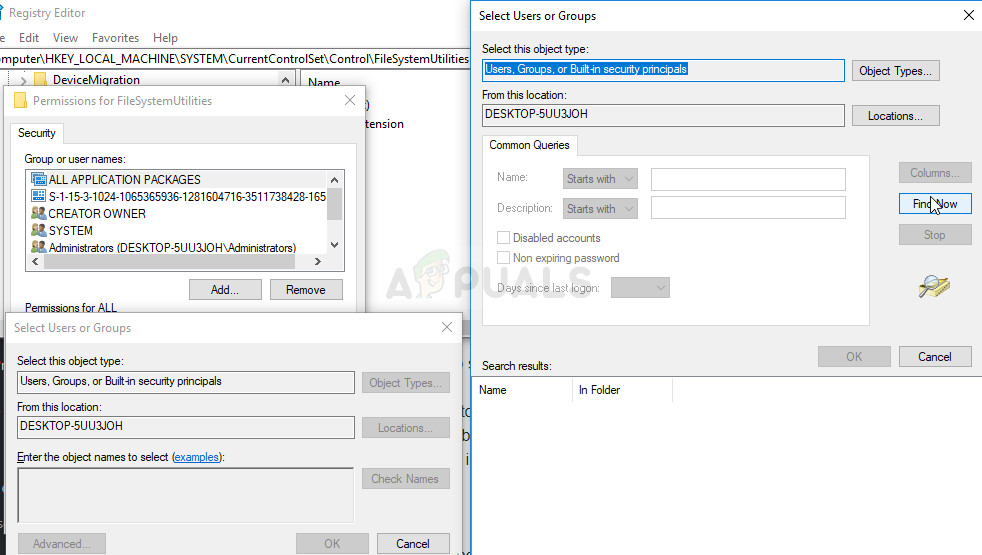
- Select y'all account in the Group or user names section and check the Full Control checkbox under Permissions for… and employ the changes you take fabricated.
- After that, you can right-click the MiniNT key and click on Delete. Confirm the dialog box which will announced and restart your computer to Utilize the changes. Try installing Windows over again.
Solution four: Boot in Normal Startup Before Running the Windows Setup
Irresolute the manner yous boot into your computer is something you choose for yourself but everyone will recommend that you switch to the normal startup manner earlier you attempt to outset a Windows Setup for any purpose. It has worked for several people and nosotros promise information technology will piece of work for you likewise.
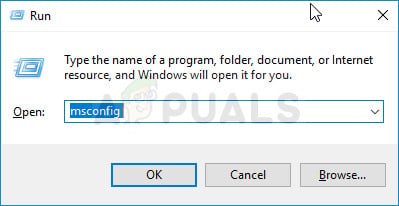
- Employ the Windows + R key combination on your keyboard in order to open up the Run dialog box and type in "msconfig" earlier clicking OK. If you are using Windows 10, you can besides search for "msconfig" in the Commencement menu or the search bar adjacent to it. The start result should be System configuration so make sure y'all click on it.
- Stay in the Full general tab and change the radio button nether Startup selection from the previous setting to Normal startup and Apply the changes before exiting. Restart your computer and cheque to see if the problem is gone.
Solution 5: Format the Drive You Want to Install Windows on
If yous want to perform a clean install of Windows on your computer, yous volition definitely have to format the former drive which volition include erasing all of your files. Since you have decided to perform a clean install, you lot should take already taken intendance of important files so we will skip that. You shouldn't skip the formatting of all partitions which have the former arrangement files on it.
The process will differ greatly depending on which installation media yous are using (Windows 7, Windows 8, and Windows 10). Still, the process is quite similar so nosotros will cover the steps for Windows 10 since most people are installing this Os nowadays.
- Insert the installation media and kick the computer. Setup the languate, time and date settings, etc.
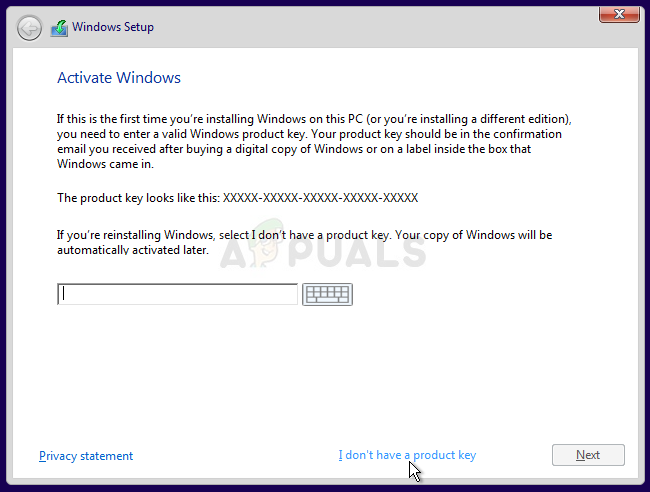
- If you've never installed Windows 10 on this computer before, you'll come across the Windows activation screen. Enter your Windows 10 key hither. If y'all don't have one, but you accept a valid vii, 8, or 8.one key, enter it hither instead. Yous can besides skip this part and enter the fundamental after the installation is consummate.
- Go through the setup process normally until you lot see the "Which type of installation exercise y'all want?" screen. Select the "Custom" option to ensure you're performing a clean install and not an upgrade install which was covered in the get-go solution.
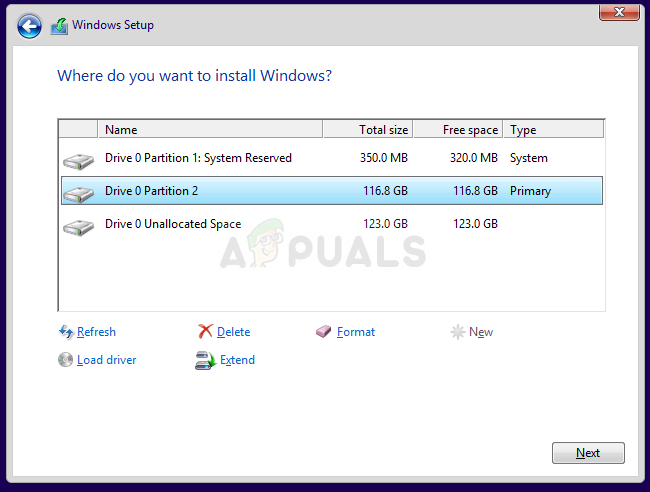
- Y'all will at present see the "Where do you want to install Windows?" screen with the partitions you have active. Choose each one with current Os' organisation files on it and click on Delete. Choose the 1 where you want to install Windows and follow through with the process. The mistake shouldn't appear now.
![]()

Source: https://appuals.com/fix-the-computer-started-using-the-windows-installation-media/
Posted by: stopsawallaid.blogspot.com
0 Response to "How To Remove Windows Installation Media Windows 8"
Post a Comment